 EisBaer SCADA Apps - Smart-Clients (iOS, Android)
Smart clients (app clients) are available for Apple iOS, Android, Windows Phone 8/10, as well as for Windows 8 RT and Windows 10 (however, Windows apps have not been developed since mid-2017 and are currently on hold) , The apps are available free of charge in the respective stores of the platforms. The smart clients behave like the Windows clients. It is thus an independent operation by multiple users possible.
As a special feature, the Smart Clients offer the possibility of two different forms of presentation:
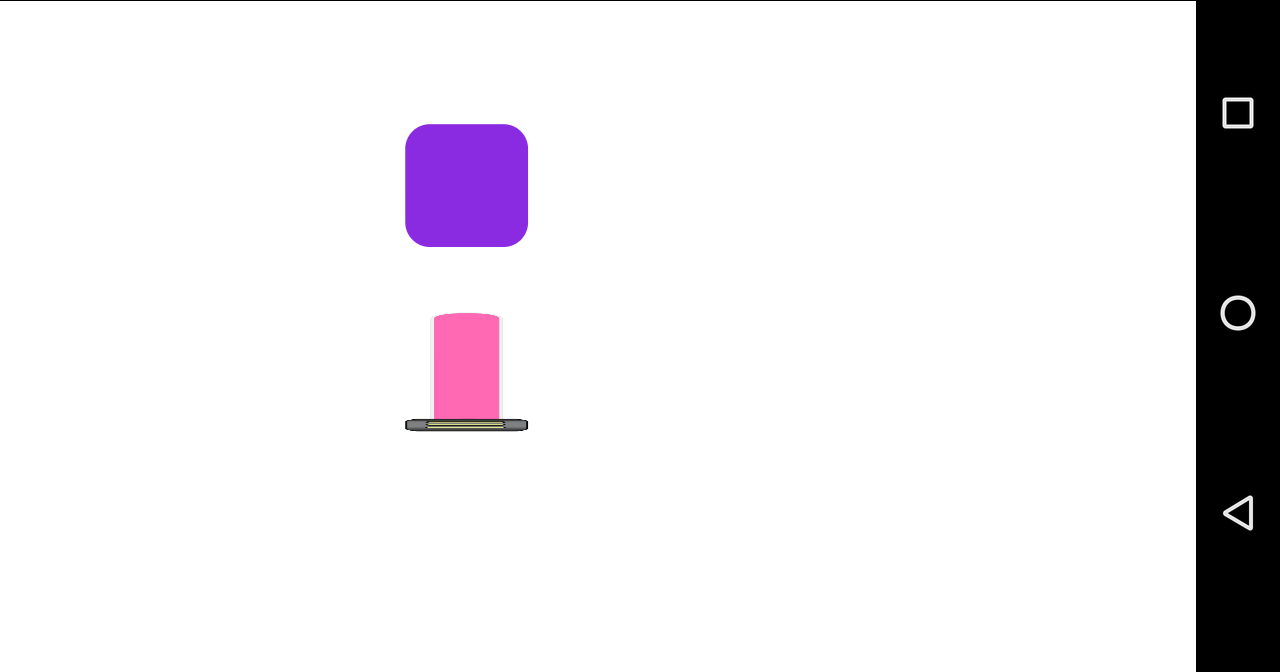
1.If the mobile device is held horizontally, the user sees the "normal" graphical part of the interface, as configured in the editor.
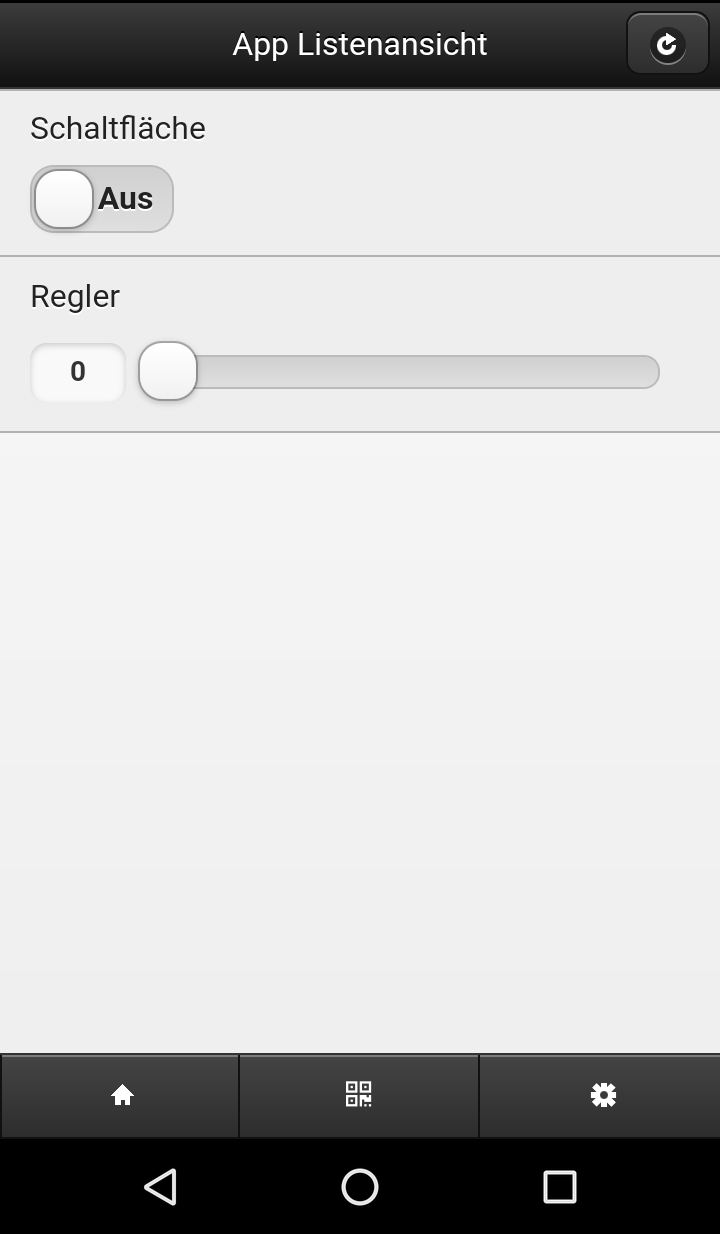
2.If the device is held upright (vertical), the display of a menu system (APP list view) is possible. For this purpose, this menu structure must be configured in the project. The "APP List View" component is available in the Editor in the component list under System.
For operation, the corresponding device must be in the same network as the server. If a control is also outside of the own network, a portal connection is required. The portal server connection is described in the chapter Portal Server.
Note: Should any components be missing, the cache must be cleared to bring an app up to date. After the reconnect all new elements are present.
Optimal resolutions:
Apple devices (screen resolutions, iPhones and iPads)
Device |
Display size (in zoll) |
HARDWARE-PIXEL |
Optimal resolutions |
Aspect ratio |
iPhones |
|
|
|
|
iPhone 5, 5c, 5s, SE |
4" |
1136 x 640 |
568 x 320 |
16:9 |
iPhone 6, 6s, 7, 8 |
4.7" |
1334 x 750 |
667 x 375 |
16:9 |
iPhone 6 Plus, 6s Plus, 7 Plus, 8 Plus |
5.5" |
2208 x 1242 |
736 x 414 |
16:9 |
iPhone 11, XR |
6.1" |
1792 x 828 |
896 x 414 |
19,5:9 |
iPhone 11 Pro, X, XS |
5.8" |
2436 x 1125 |
1218 x 563 |
19,5:9 |
iPhone 11 Pro Max, XS Max |
6.5" |
2688 x 1242 |
1344 x 621 |
19,5:9 |
iPhone 12, 12 Pro, 13, 13 Pro |
6.1" |
2532 x 1170 |
1266 x 585 |
19,5:9 |
iPhone 12 Pro Max |
6,7" |
2778 x 1284 |
1566 x 768 |
19,5:9 |
iPads |
|
|
|
|
iPad mini 2, mini 3, mini 4, mini 5 |
7.9" |
2048 x 1536 |
1024 x 768 |
4:3 |
iPad mini 6 |
8,3" |
2266 x 1488 |
1133 x 744 |
13,71: 9 |
iPad 4, 5, 6, Air, Air 2, Pro 9.7 |
9.7" |
2048 x 1536 |
1024 x 768 |
4:3 |
iPad 7, 8, 9 |
10.2" |
2160 x 1620 |
1080 x 810 |
4:3 |
iPad Air 4 |
10,9" |
2360 x 1640 |
1180 x 820 |
4,3:3 |
iPad Pro 10.5, Air 3 |
10.5" |
2224 x 1668 |
1112 x 834 |
4:3 |
iPad Pro 12.9 |
12.9" |
2732 x 2048 |
1366 x 1024 |
4:3 |
iPad Pro 11 |
11" |
2388 x 1668 |
1194 x 834 |
4,3:3 |
The EisBaer SCADA app:
After downloading the app from the store, the EisBaer SCADA logo will be displayed on the home screen. By opening the app, the EisBaer demo project is automatically downloaded from the server and opened. In the vertical view, the menu bar of the app is visible. By selecting the left button (house), the loaded project is ended and the overview of the server connections is displayed. If there is only one project in this list, it will be loaded automatically. At first use, there is only one server. For this reason, the menu for the server settings must be called up here via the right-hand button (cogwheel).
App overview:
The first tab (house icon) displays all saved server connections. If only one server is stored here, this project will be started automatically. The arrow icon in the upper right corner indicates that the list has been updated.
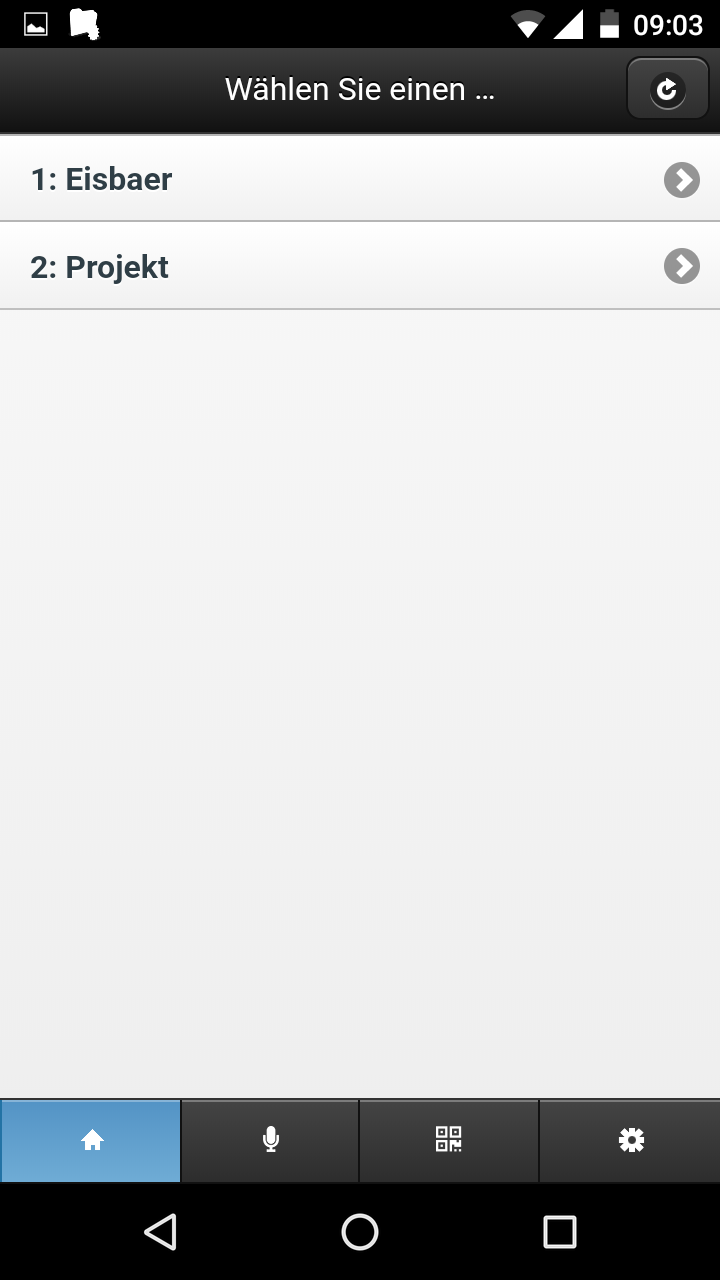
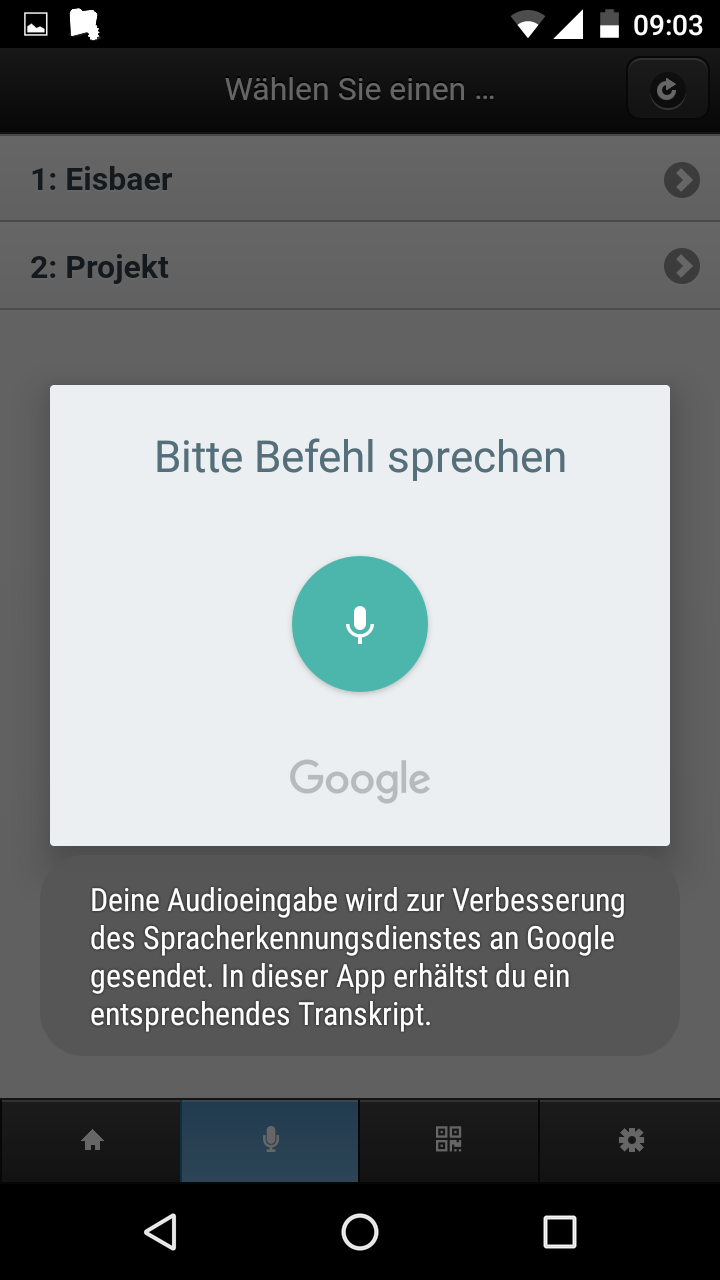
The microphone icon allows voice commands to be executed in the app list view. Only visible controls can be detected. Currently the following commands are supported:
Action Button: Command = Button Text
Switch: Command = Label + "on" or "off"
Dimmer: Command = Label + Number Example: "Office Light 33"
Venetian blind: command = label + "up", "down" or "stop"
RTR switch: Command = Label + "Comfort", "Standby" or "Night"
For several identical designations, the designation of the subpage can also be used. Example: "Office light on" and "Living room light on"
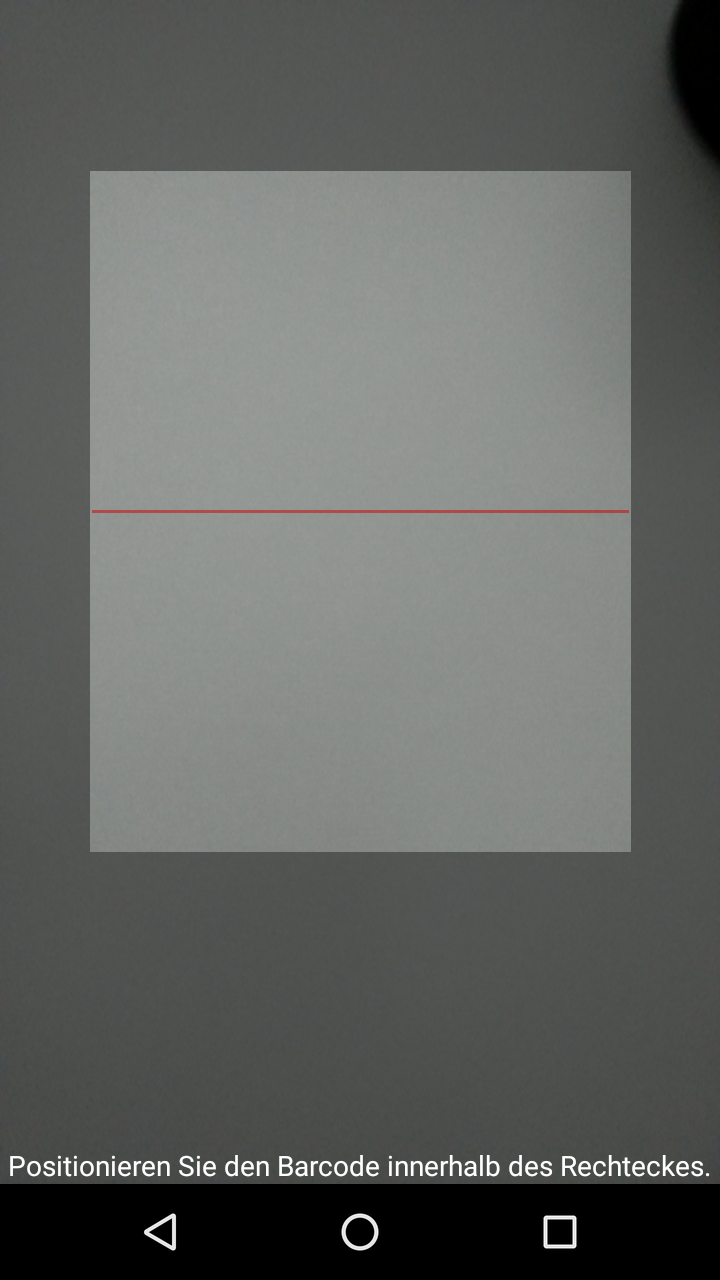
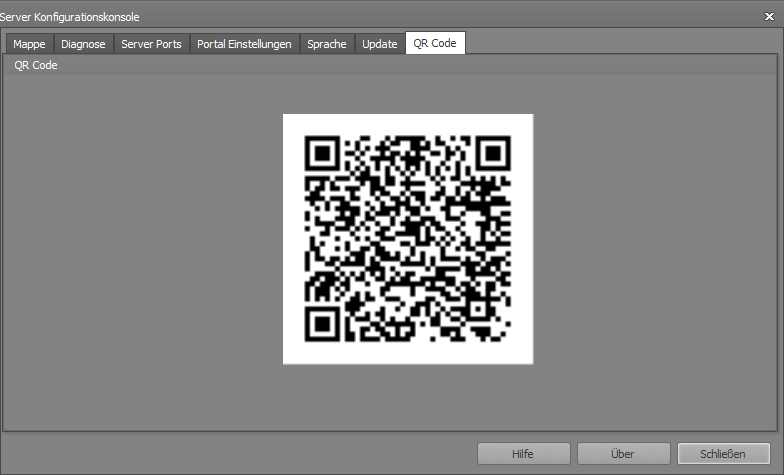
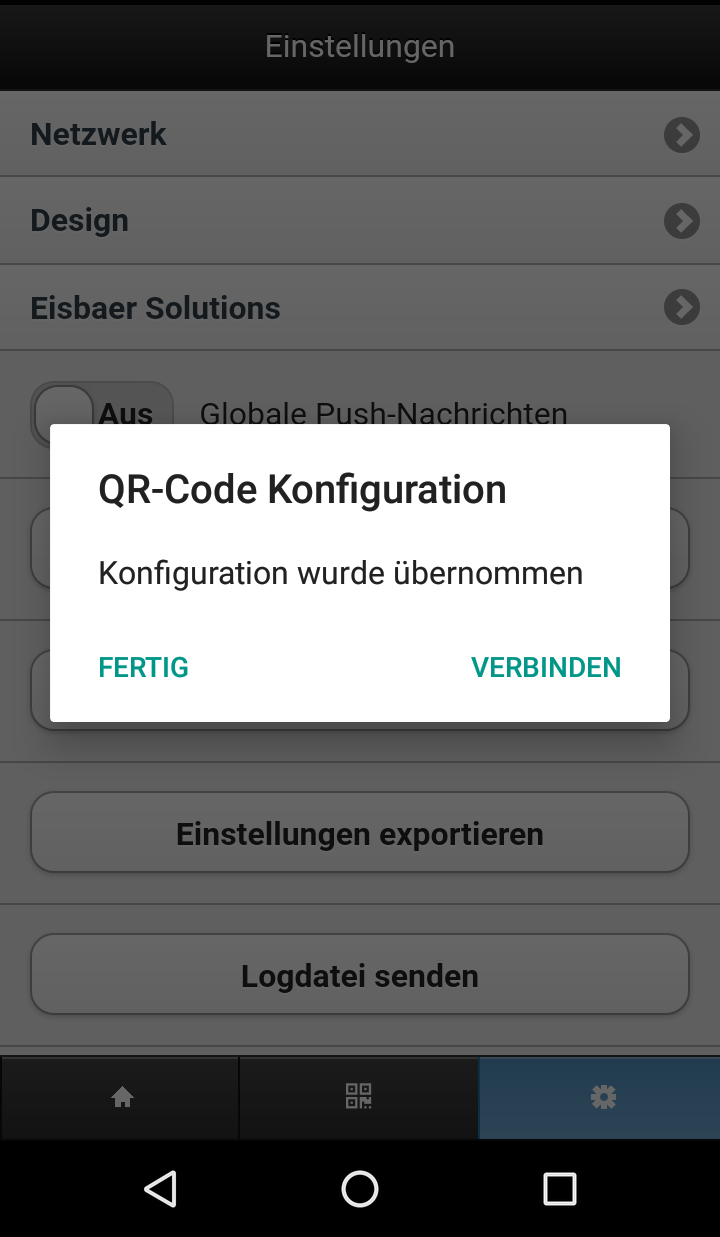
The third tab activates the QR code scanner. This allows a project to be loaded directly by scanning the QR code. The QR code is located in the server configuration console in the last tab "QR Code". After scanning, you will be asked if the connection with the project should be recorded directly or if the connection should only be saved. With "Done" the settings are displayed. The name of the project is now also displayed in the overview of the server connections. A QR code can also be created as a component in the project.
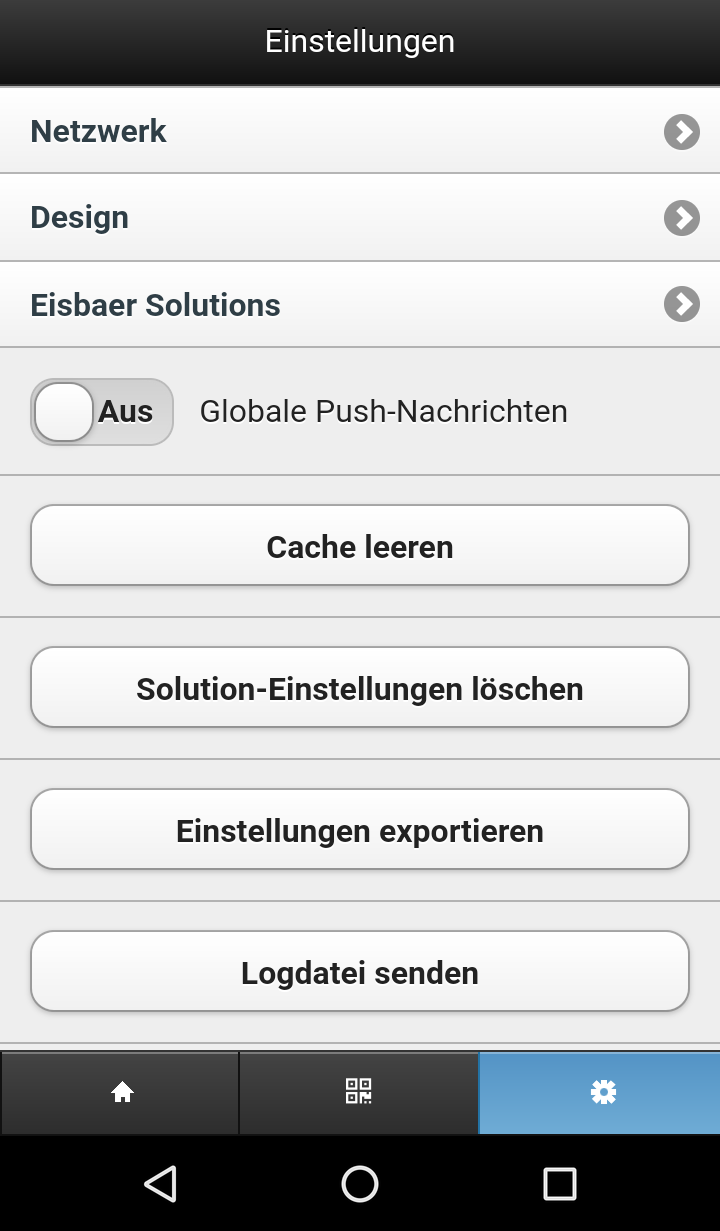
In the last tab "Settings" you will find all required settings of the app. The first setting option "Networks" refers to the EisBaer projects. If network is selected all projects will be displayed. You can manually create a connection via the plus symbol in the upper right corner.
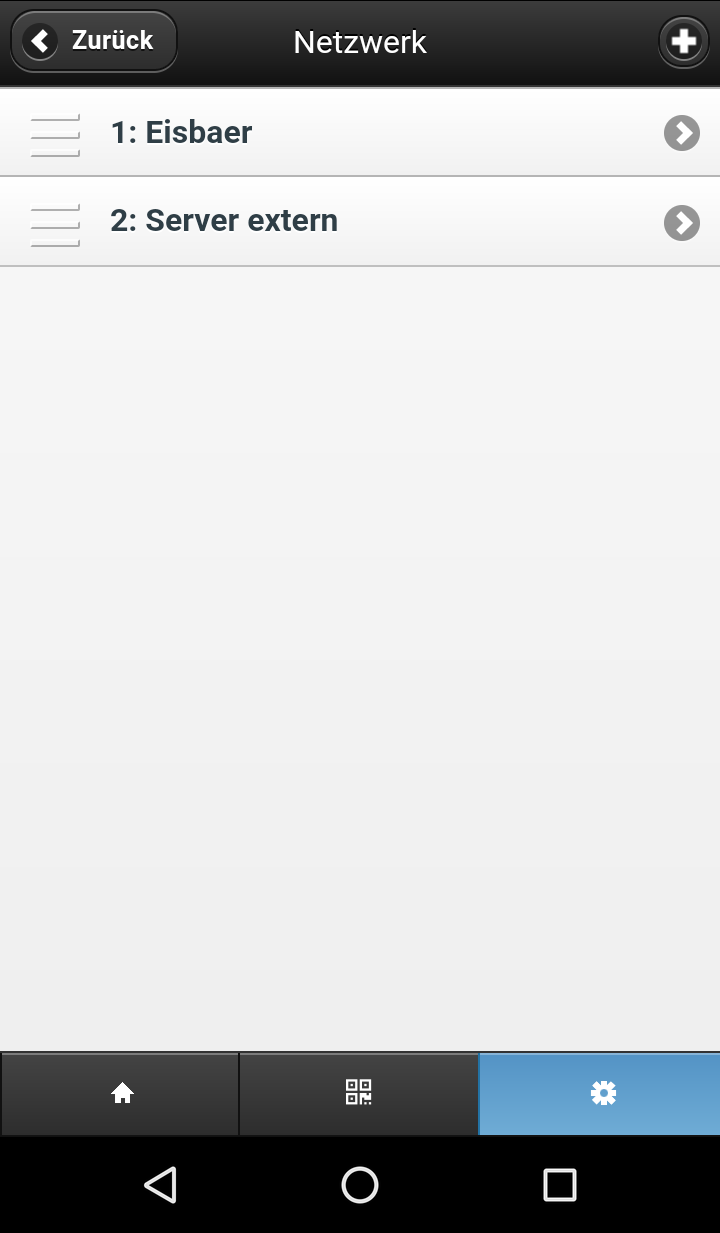
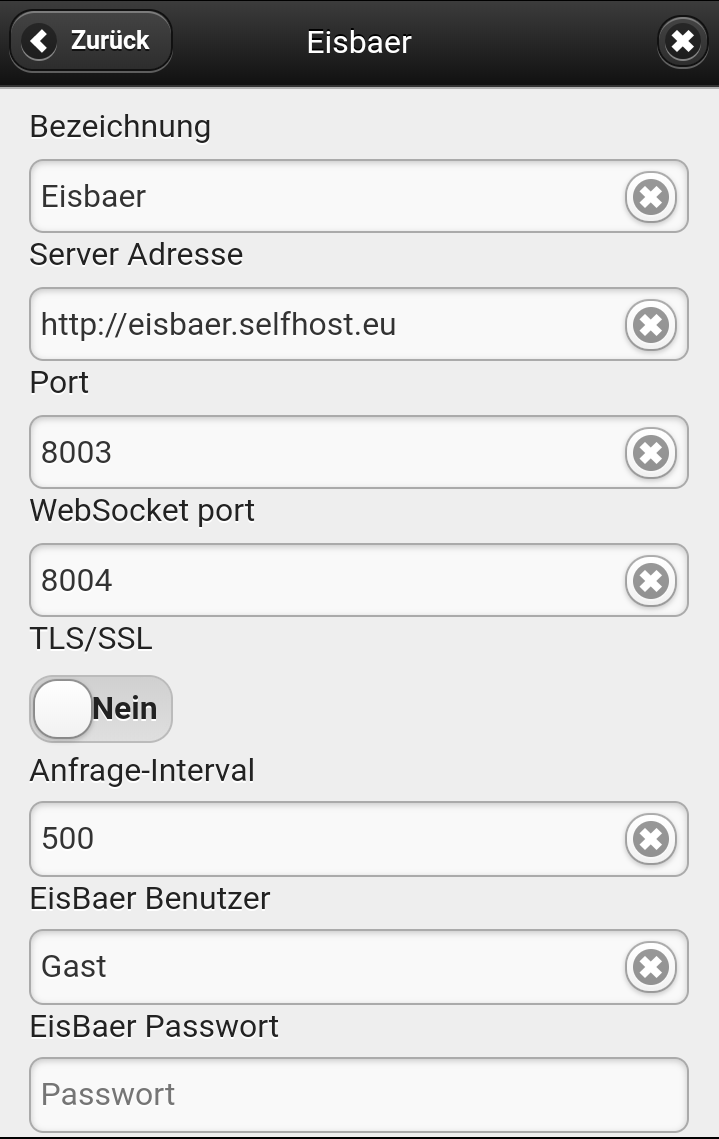
If a project is now selected, all settings of the server are displayed. Make sure that the WebSocket port 8004 is entered and TLS/SSL is set to "No". Without this port, unwanted displays may occur. From a technical point of view, with WebSocket, as with HTTP, the client starts a request, with the difference that after the transmission of the data to establish the connection, the underlying TCP connection remains in place and enables asynchronous transmissions in both directions. If the WebSocket connection does not work, a message is displayed. It is possible to remove the port from the settings to avoid the error message.
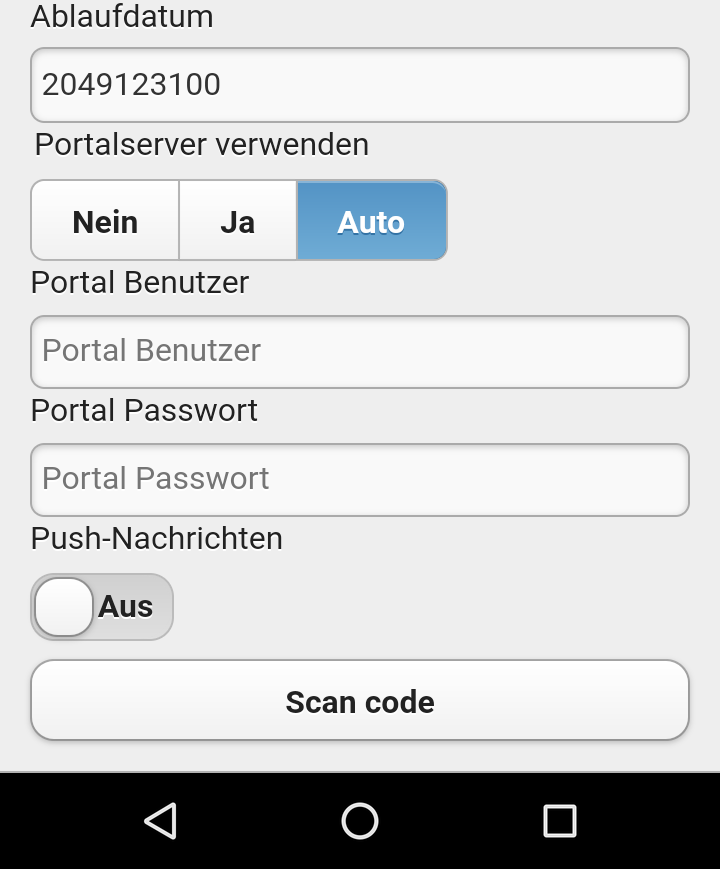
In the lower part of the settings, the access data for the portal access are entered. If Use "portal server " is set to No, the login is hidden. If the selection is set to Yes, only the portal access is used to connect to the project. If the selection is set to Automatic, an attempt is first made to reach the server address and thus the project via the local network. If this fails, an attempt is made to connect to the portal server via the Internet and load the project.
A push function can also be built into the EisBaer project. If push messages are to be active, "Push messages" must be set to "On".
The X in the top right corner is used to delete the server connection.
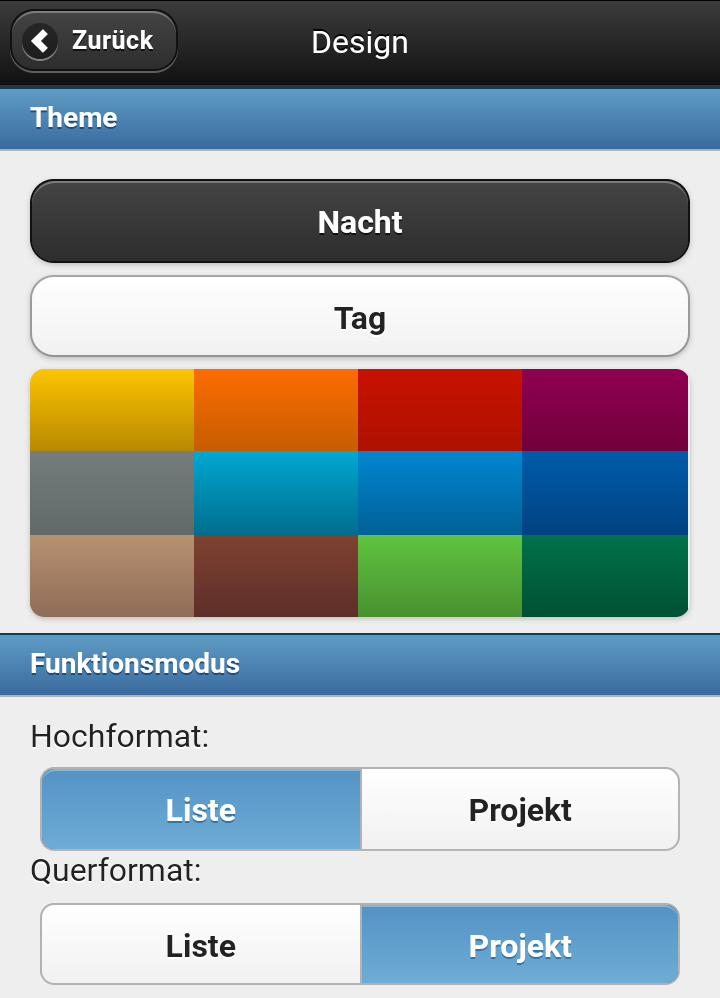
In the settings menu under Design the settings for the display are stored.
•Under Theme, the background color of the app can be set.
•Under Function mode the display of the project will be edited. By default, the app's list view is shown in portrait format and the project visualization in landscape format. If no app list view is stored, nothing is displayed.
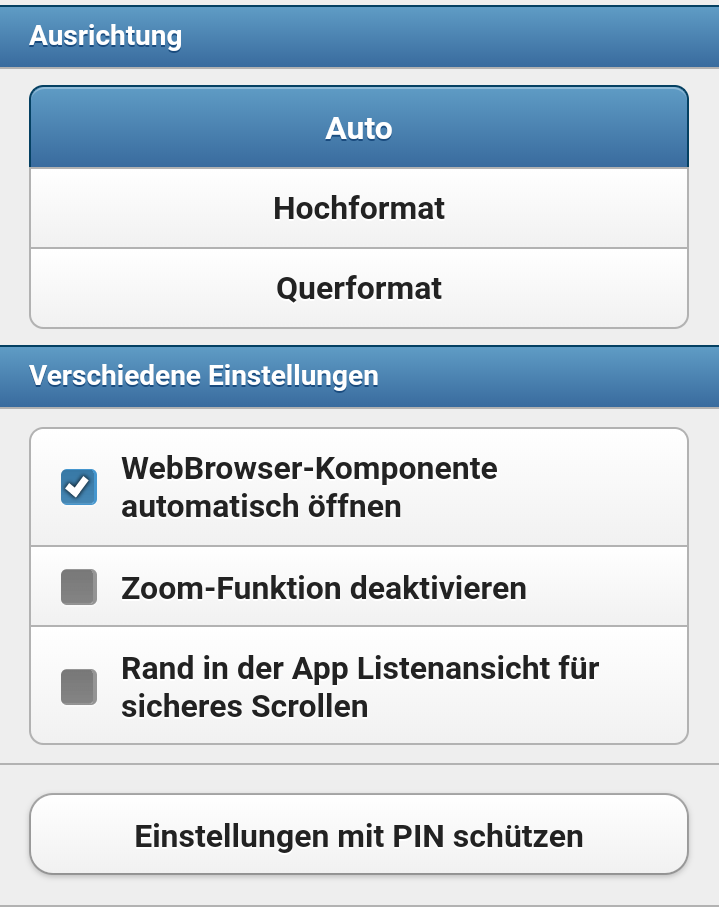
•Under Orientation, the display is either Automatic between High and Landscape, or always in Portrait or Landscape.
•Under Different Settings you can choose whether the WebBrowser component should open automatically or not. Furthermore, the zoom function can be deactivated. The last entry refers to the app list view. If this setting is activated, a small bar will appear on the right side of the App List View while scrolling.
•With "Protect settings with PIN" a PIN can be defined. This protects the entire range of settings from unauthorized access.
The entries for the door intercom can be found under Eisbaer Solutions. These can be set or edited here (see video door inter com --> Mobile App ).
Example showing a button and a slider in the App List view and in the Project view. Both must be created independently of each other.